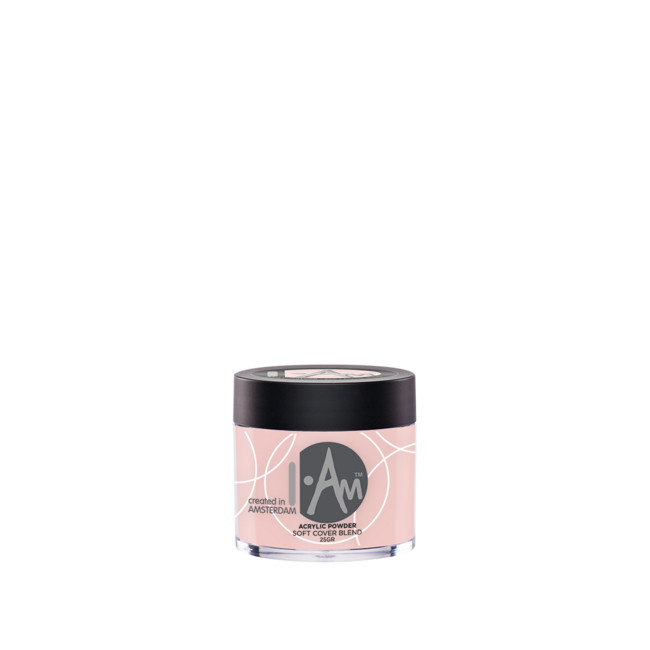
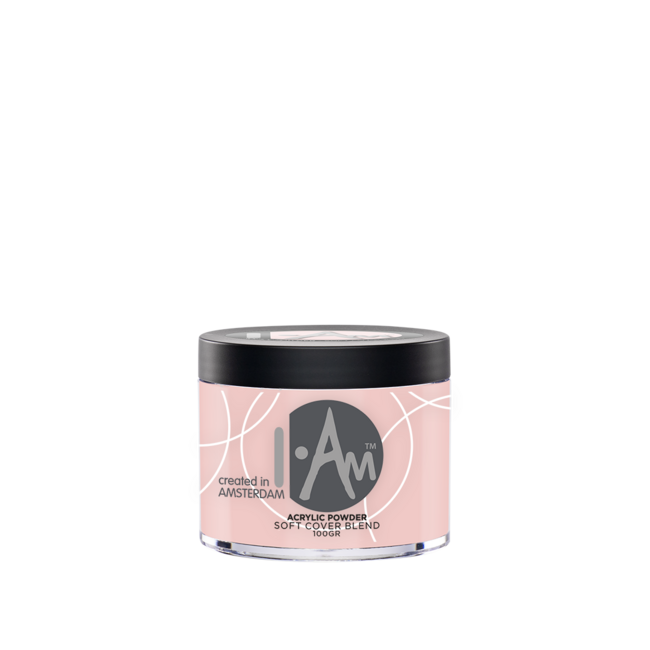
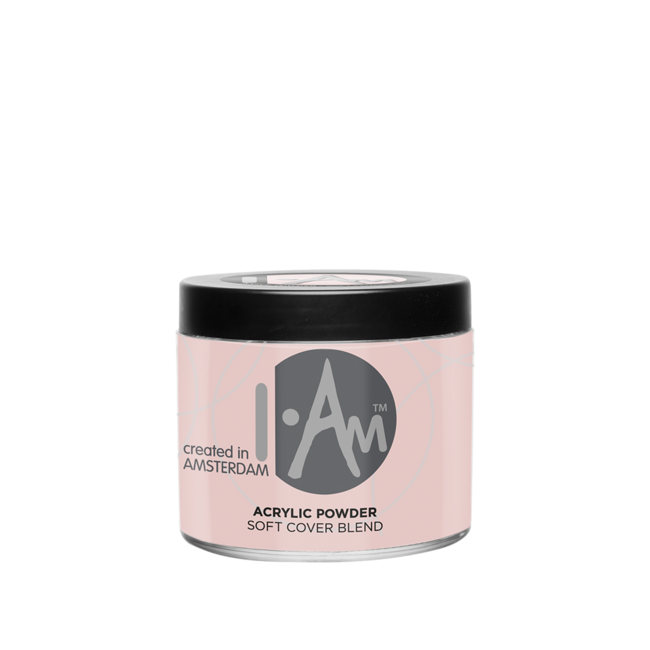
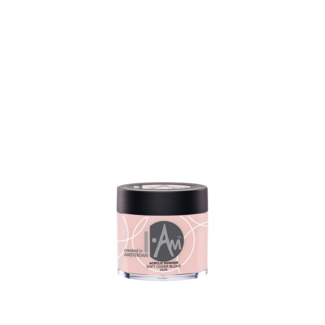
I.Am Acrylic Powder – professional acrylic powder with outstanding color stability & perfect rigidity. Ideal for overlays, tip extensions & sculpting on nail forms. Available in 25gr, 100gr and 250gr. Read more.
I.Am Acrylic Powders are specially formulated powders that give nail professionals optimal control and precision during sculpting. Thanks to outstanding color stability, the powder resists yellowing over time, while the perfect balance of rigidity and toughness ensures the nail enhancement holds its shape without breaking. The surface can easily be brought to a mirror-like high shine finish without dulling or scratching, even after prolonged wear.
The I.Am Monomer/Polymer combination makes sculpting smooth and efficient - whether working with a single bead for shorter nails or multiple beads for longer extensions. The acrylic powders are highly versatile, suitable for natural nail overlays, tip extensions, and sculpting over an I.Am nail form. Available in 25gr, 100gr and 250gr, ideal for both home users and professional nail salons.
Combine I.Am Acrylic Powders with I.Am Monomer to create beautiful strong nails. Application time may vary depending on climate conditions. Extremely hot weather may cause the product to setup faster, or extremely cold weather conditions may cause the product to set up slower. Recommended mix ratio: 1½ parts liquid and 1 part powder. It may be necessary to slightly adjust your Monomer-Polymer ratio to the climate conditions, however this will not affect the strength or durability of the nail due to the plasticizers.
1.Follow the steps for preparing the natural nail.
2.Apply a thin layer of I.Am Air Dry Bonder on the natural nails and let it dry for about 30 seconds (no UV light is used). The product will remain slightly sticky.
3.Insert your I.Am Acrylic Application Brush into the I.Am Monomer. Wipe off the excess monomer depending on the size of bead you wish to use.
4.Insert your I.Am Acrylic Application Brush into the I.Am Acrylic Powder of your choice.
5.Place the first bead of acrylic on the free edge. Using the tip of your brush, gently bring (press) the sides of the bead to each side of the free edge. Keep brush half wet to keep product workable. Gently blend the product onto the natural nail.
6.Place a second bead on the center of the natural nail plate. Guide the product from left to right (left and right Lateral Sidewalls of the natural nail). Blend the product towards the cuticle. Tuck the lateral edges of the nail well with the acrylic and form a thin clean edge, without touching the skin. The remaining acrylic should be spread gently over the free edge.
7.Apply a third bead at the cuticle. Leave a small space around the cuticle. Never touch the surrounding skin with acrylic! A thin layer in this area provides a natural, good-looking and long-lasting nail extension. Air fringes are prevented by pressing the acrylic well and a gradual thin transition to the natural nail at the cuticle.
8.Follow the filing technique steps to file the nails into shape if needed.
9.Follow the steps for applying I.Am Soak Off Top Gel.
Polyethylmethacrylate, Polymethyl Methacrylate, Acrylates Copolymer, Benzoyl Peroxide, PEG-12 Dimethicone, Silica, Silica Silylate, Triethoxycaprylylsilane, ± CI 77891, CI 77288, CI 77491, CI 77492, CI 77499, CI 15850, CI 73360, CI 19140, CI 77007.